Introduction
Aim: You will understand how the airbrakes work, their effects, and how to use them.
What do we know?
- Has anyone here used the airbrakes?
- What did you notice about them?
- Are they really brakes?
Which control is it, and Where is it?
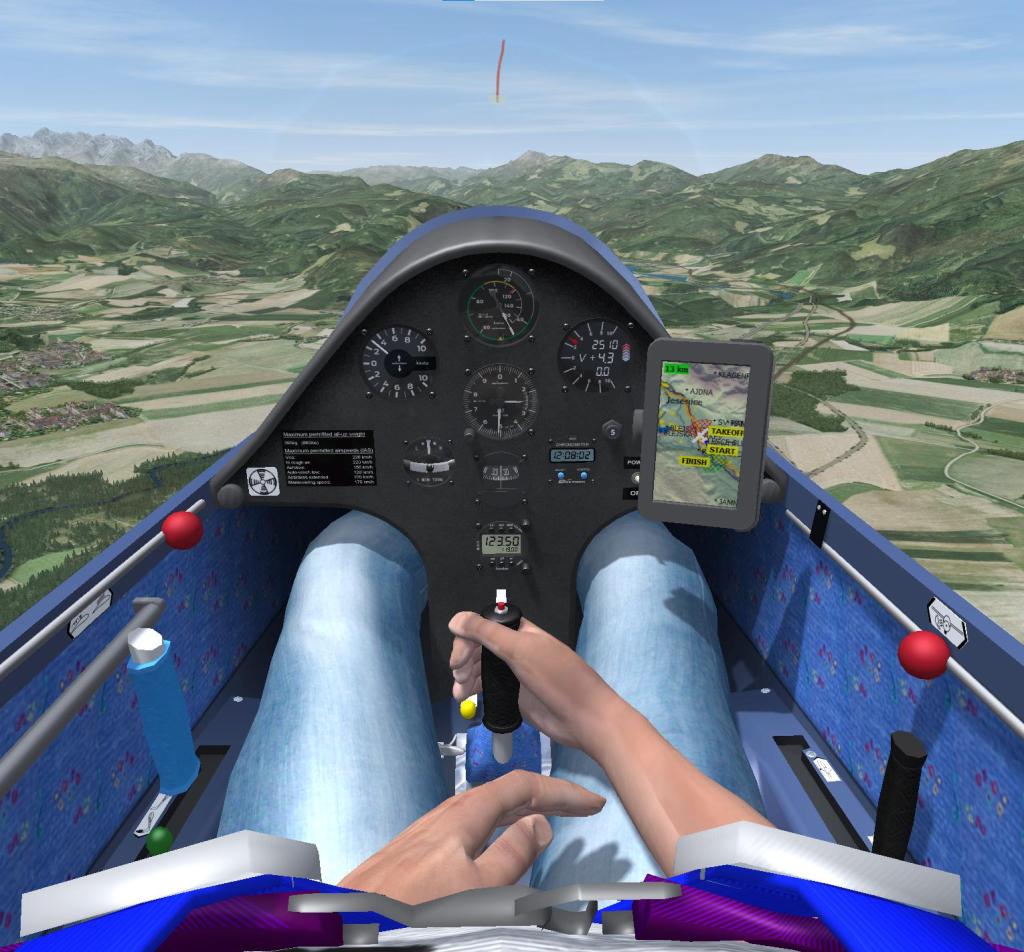
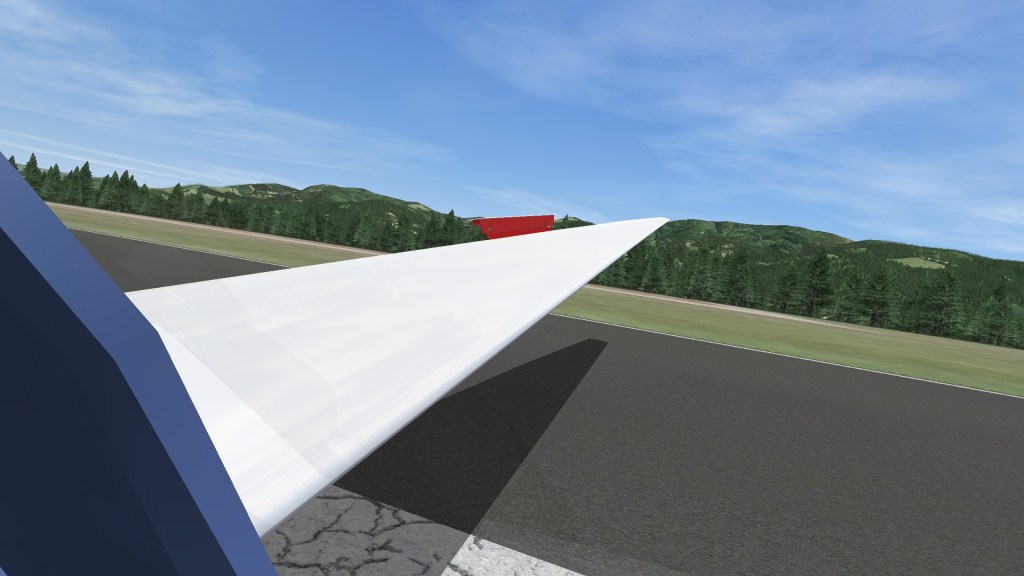
- Blue
- Left side
- Type of control: usually as illustrated, a handle that moves fore and aft. Alternatives include a lever, which operates the same way.
Effect
Adds Drag → controllable Sink
Direction of control movement
- Fully Forward → Closed No effect
- Forward → Small, or Less, effect
- Backward → Increasing effect
How does it work?
- Airbrakes add Profile (specifically Form) Drag
- Profile Drag increases with (the square of the) speed:
- more speed generates much more drag
- BUT very few airbrakes are speed limiting at steep angles of descent (above 30-45 degrees)
- The Lift / Drag ratio, or Glide Angle, is adversely affected:
- Example: the K13’s glide ratio at 55kts:
| Airbrake Setting | Glide Ratio |
|---|---|
| Closed | 25:1 |
| Fully Open | 6:1 |
Video: 3 minutes exploring the use and effects of Airbrakes, including Stall behaviour. Play it in Full Screen if possible, to see the explanatory messages at the top of the screen.
Why do we use it?
When do we want to add some drag (sink)?
- On Approach
- To lose excess height to rejoin circuit
- Note: close them again for a while beforehand, to readjust your senses to ‘normality’
- To avoid climbing (yes, really!)
- To descend rapidly
And just for future reference:
- To descend through cloud (after suitable training)
- To avoid over-speeding (maybe, and with care)
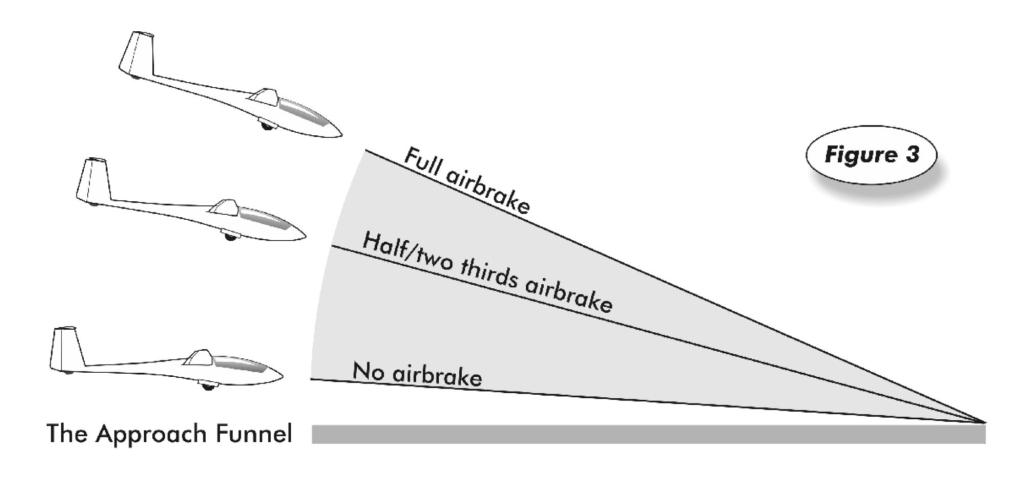
Amount of movement
- Unlocked means open, with the lever fully forward against the overlock. The airbrake caps should still be flush with the wing’s surface. They will have no effect.
- Cracked means slightly open. Their effect will be minimal.
- Fully opened means lever all the way back. The airbrakes will be operating to their full effect.
- Half way may mean half open, but not necessarily half the effect. Judgement is required.
Visual References
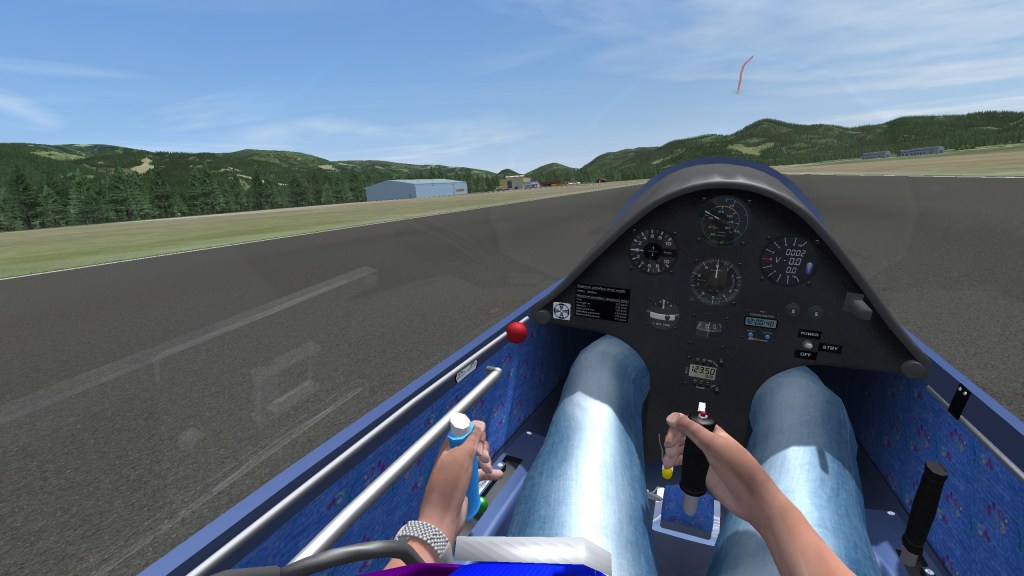
- Airbrake Lever position
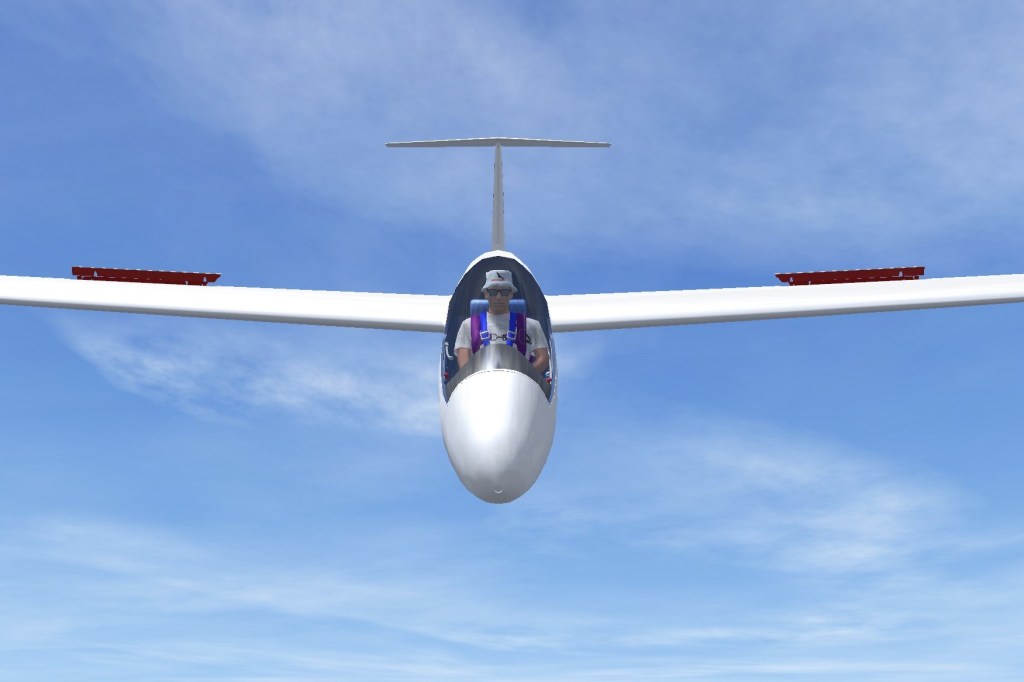
- Airbrake Paddles are visible
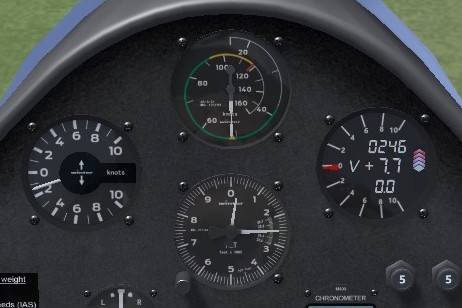
- Vario (high sink rate for the conditions)
Check the airbrakes are locked before launching: look at them, and confirm by pushing the lever forward, past the over-centre lock.
Secondary Effects
- Effects vary between gliders
- Pitch may change
- Speed may alter, possibly a lot, notably through a wind gradient:
- when descending through a wind gradient, be prepared to reduced the airbrake setting a lot, in order to allow acceleration
- Adjust pitch alongside airbrake usage, to control speed.
Stall Behaviour changes:
- Stall Speed increases
- The Stall will occur suddenly
- Wing Drop is likely
- A quick Recovery requires the airbrakes to be Closed beforehand
Notes of Caution
- Sucking out at speed
- Effort to Open and Close them
- The correct lever?
- Open airbrakes will spoil your winch launch or aerotow
- Wheel brake activated by the airbrake lever. It may operate from half to fully open. Beware rounding out with the wheel brake on.
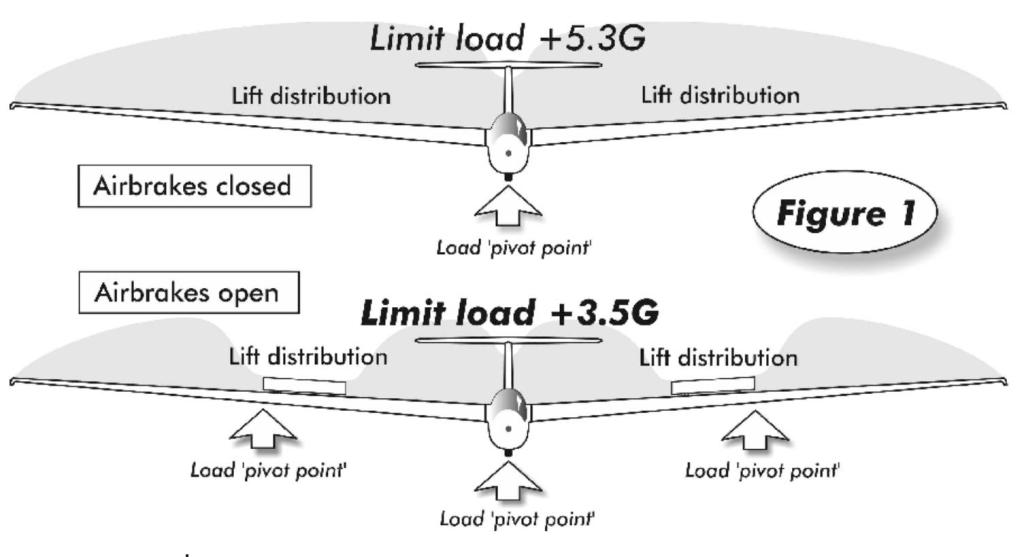
- G-Limits are reduced
Recap
- What effect do airbrakes have?
- Which control operates them?
- When do you let go of the lever?
- What else will you need to do when operating airbrakes?
- If left unlocked, how might that affect your flight?
TEM
Threats
Collision
Mitigation:
- Keep a good Lookout.
Descending into traffic
Mitigation:
- Do not ‘fall’ into circuit.
Errors
Running out of height.
Mitigation:
- Monitor height and position.
Loss of pitch coordination (when using the airbrake).
Mitigation:
- Coordination with Pitch must be learnt: at height.
Loss of accurate speed control, due to changes in pitch.
Mitigation:
- Monitor the ASI, especially when low.
Disorientation after descending from height.
Mitigation:
- Loiter at c. 2,000′ above ground, to allow your senses to reorient themselves before committing to land.
- Close the airbrakes, so that you consciously open them as required later.
Using the wrong lever.
Mitigation:
- Look at, Hold, Keep Hold of the airbrake until closed and locked.
Flight Exercises
The specific effects of airbrakes varies between types of glider. The aim of the lessons is
- To demonstrate the effect of using the airbrakes on:
- Rate of descent
- Attitude
- Airspeed
- Also to show the forces required to operate them at different speeds, and to
- Practise selecting the correct lever.
Demonstrate effects (pitch uncontrolled)
- Lookout (especially behind and below).
- Trim for approach speed.
- Relax on the stick, instructor operates airbrakes.
- Student notes the effects on attitude, speed and sink rate, when opening and closing.
Demonstrate effects (pitch controlled)
- Lookout (especially behind and below).
- Trim for approach speed.
- Student follows through on the stick.
- Instructor operate airbrakes. Student notes the change in attitude required to maintain approach speed when opened, then when closed.
Student pilot operates airbrakes; instructor maintains airspeed
- Lookout (especially behind and below).
- Trim for approach speed.
- Student operates airbrakes, increasing the range, finally full range, and lock them closed.
Student pilot operates airbrakes and maintains airspeed
- Lookout (especially behind and below).
- Trim for approach speed.
- Student operates airbrakes whilst maintaining airspeed.
- Student notes changes in trim.
Student pilot operates airbrakes at varying airspeeds
- Lookout (especially behind and below).
- Student operates airbrakes at various airspeeds, noting the change in force to operate and hold them, also to prevent them being snatched open at high speed.
Students’ Self-Briefing is available here including text and video.
