Introduction
Aim: You will know how to fly a safe circuit, modified as required for the conditions at the time.
What do we know?
What is a Circuit?
What is its Purpose?
Purpose
“To arrive at the final turn in the right place
at a safe height and speed
with safe alternatives always available.”
The Circuit
The idealised Circuit (does not exist!)
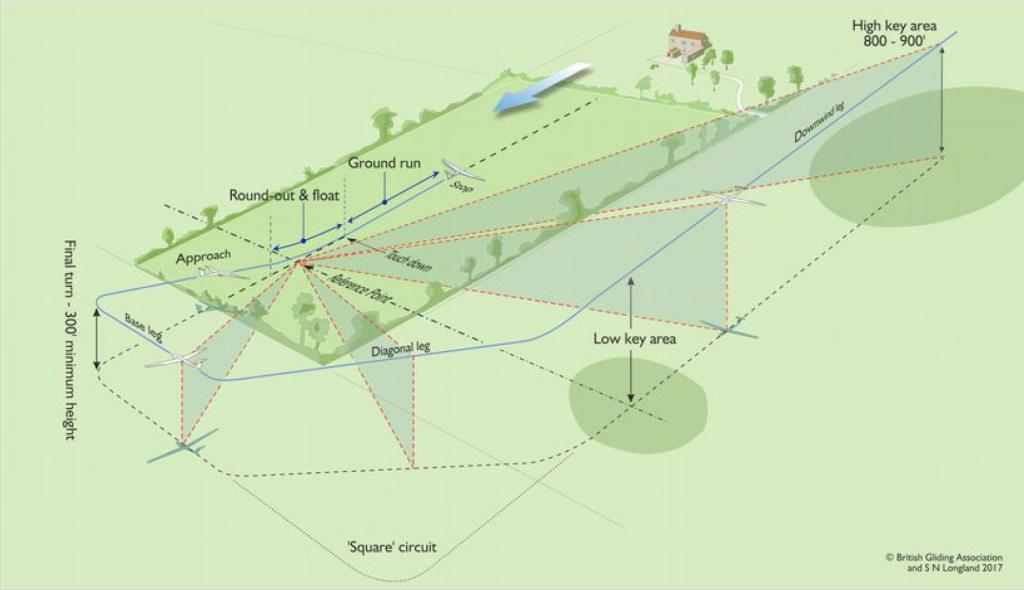
Elements of a Circuit
Reference Point
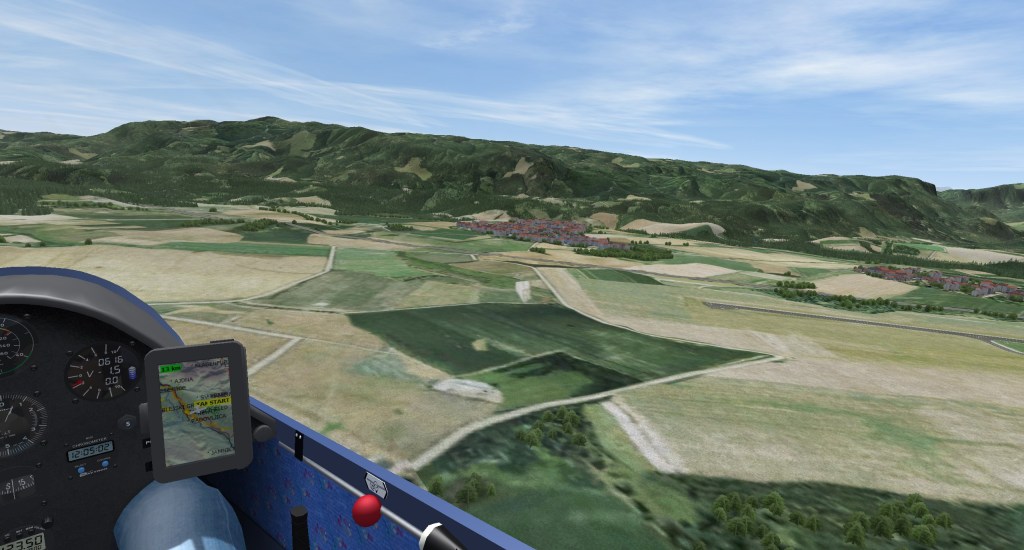
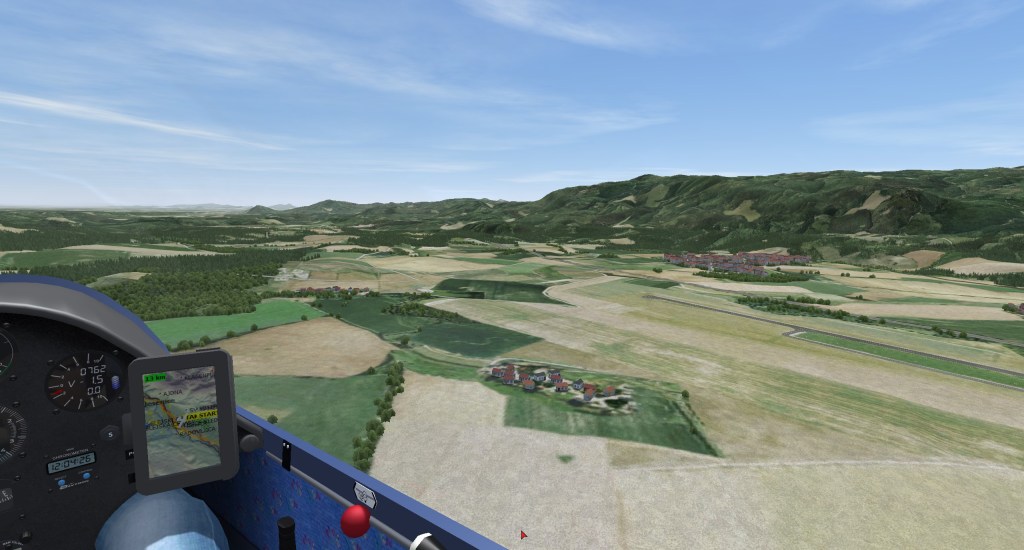
In this example, the Landing Area is the grass next to the runway. The RP is the taxi-way where it joins the runway. The glider is flying in a downwind direction above the airfield – it is NOT on a downwind leg.
- Where the glider will hit the ground if you don’t round out.
- Work back from where you want to stop, Ground Run and Float.
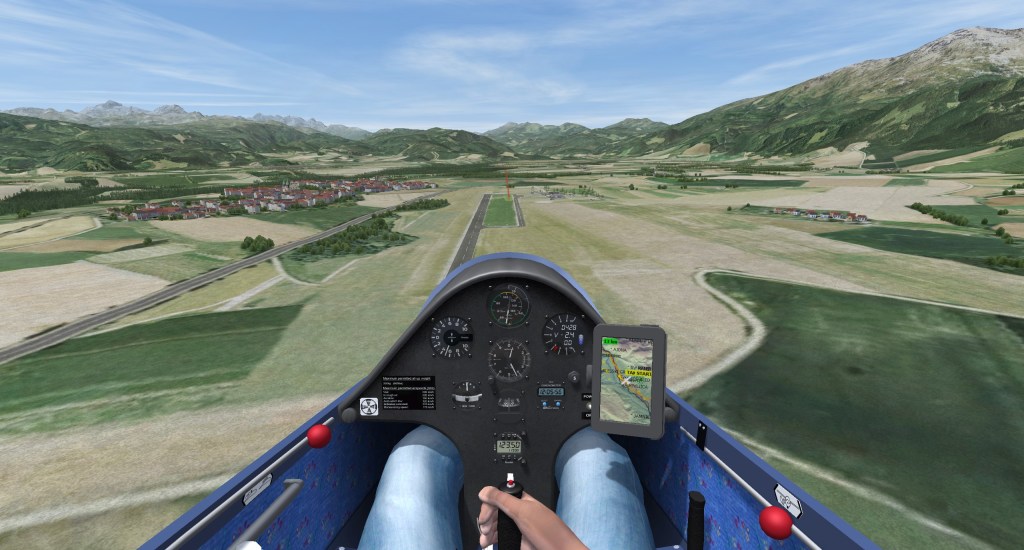
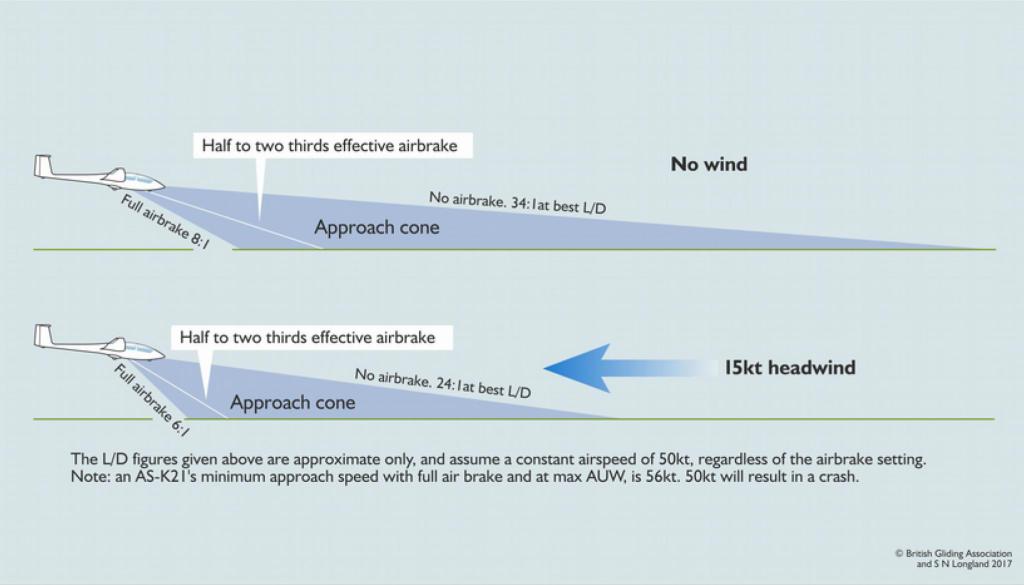
Approach Path
- The Final Approach: a straight line from the Final Turn towards the Landing Area.
- Aim for two-thirds airbrake throughout.
- Adjust early.
Approach Speed
Speed Selection:
- A target speed, with a stated minimum.
- A safe margin over the stall and spin.
- Allow for wind gradient & turbulence.
- Allow for slope.
- See also separate briefing on Landings, and Approach Control.
Final Turn
- Accurately flown: “String, speed, look over the nose.”
- Well banked is safer than shallow. Approximately 30 degrees of bank.
- Flown at the Approach Speed.
- Complete it at a safe height (typically above at least 300′ QFE).
- Placed to allow two-thirds airbrake approach.
- Allow for
- glider performance
- effectiveness of the airbrakes
- wind strength.
Base Leg
- Usually at right angles to the Approach
- Position it to avoid long approaches
- Adjust if necessary, using straight section(s)
- Flying ‘wings level’ allows you to judge the wind strength and direction:
- Aim for a heading on each leg,
- note if you need to crab to mitigate drift.
- If using airbrakes to manage height, aim to hold them steady through the Final Turn
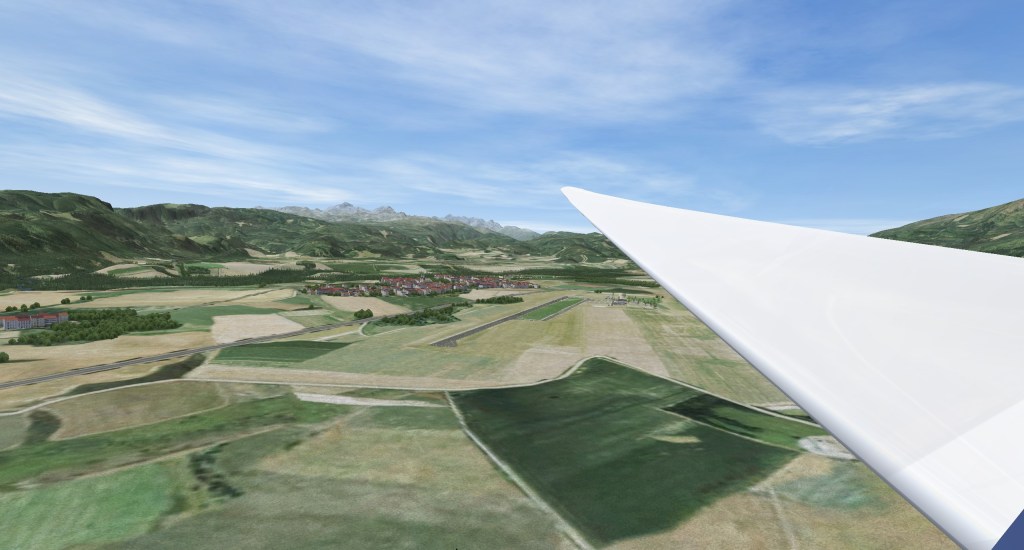
Diagonal Leg
- Cuts the corner off a square circuit
- Turn approximately 45 degrees off the Downwind Leg
- Turn soon after Low Key
- Keeps the Landing Area in sight
- Landing Area remains at roughly the same vertical position in the canopy
- The Diagonal Leg is flexible, to give you safe options
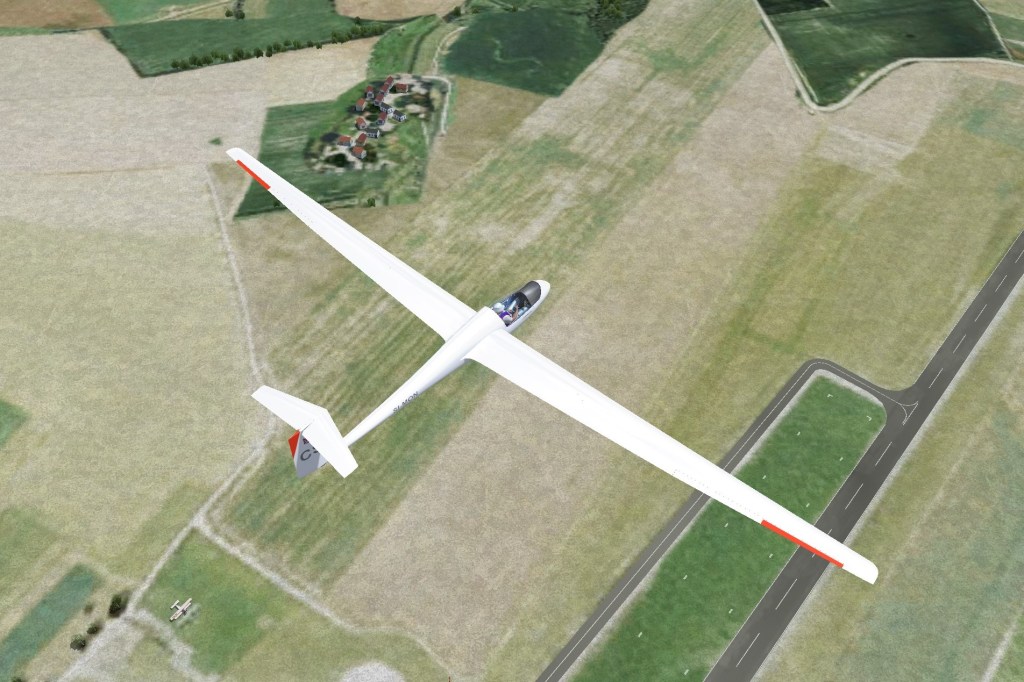
Downwind Leg
- Usually parallel to the intended direction of landing, but in the opposite direction
- Starts at High Key, c. 800′
- Height is judged by the detail you see on the ground. For example, at this height cows have legs.
- Allows judgement and adjustment: “Height, Angle, Distance”
- As you go round the circuit, monitor height, angle and distance: e.g. if the height looks good for this stage, and the angle is correct, then the distance must be right (etc)
- High(er) ground speed
- Judge the cross wind effect by flying on a heading
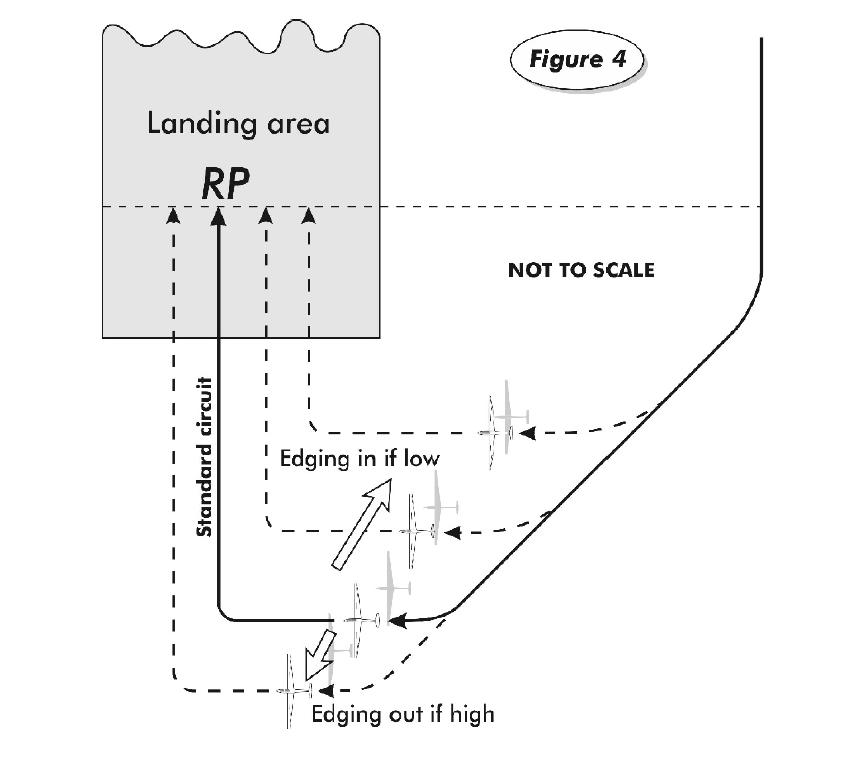
Options, options, options
- Why might we not fly the idealised circuit?
- Continually review your height and position (height, angle, distance to the RP)
- Monitor the vario sound
- Adjust the Landing Area if necessary
- More upwind
- Closer to you, or further away
- Adjust any of the legs, early, to place the Final Turn at a safe height and position
Lookout
Ahead, inside the circuit, outside the circuit
Landing Area
Listen to the radio
Pre-landing
Decision to land: make it a commitment
Wind direction, and strength: windsock
Configure the glider (and yourself) for landing e.g.
- Dump water
- Lower undercarriage
- Secure loose items
- Tighten straps
- Set flaps
- Trim for Approach Speed
- Look at and move left hand to Airbrake lever
Radio:
- Listen
- Make your radio call in good time
- Offer meaningful information, succinctly
- Aviate, Navigate, Communicate
Joining the circuit (collision avoidance and lookout): convince yourself no-one else is in, or about to join, the circuit.
Wind Effects
Wind Strength
Affects the position of the Final Turn
Crosswind
Start your circuit on the downwind side of the Landing Area if possible, to improve visibility, as a result of correcting for drift:

Wind Gradient
Add speed for the Approach if you expect a wind gradient, to avoid a stall:

Other considerations
- Flaps
- Effects vary
- Read the Flight Manual
Recap
What is a circuit?
What is its purpose?
How do we join a circuit?
What do we do before joining?
What is our focus during a circuit?
How do we judge our position throughout a circuit?
What can we do if we get out of position?
TEM
Threats
It is a stressful situation
Mitigation:
- Take time to develop your judgement.
High density traffic: Collision
Mitigation:
- Maintain lookout when approaching the airfield, and throughout the circuit.
Errors
Running out of height for an appropriate circuit.
Mitigation:
- Monitor height and position, modify circuit and/or landing area.
Not recognising the effect of wind, or a changing wind.
Mitigation:
- Consider the effect of wind prior to commencing the circuit.
Flight Exercises
Circuit Planning, Approach Control and Landing should be taught as separate exercises, each comprising their own lessons.
Circuits are taught when the student pilot has good flying skills and a reasonable (passive) experience of multiple circuits. So these exercises are mainly about developing the student pilot’s judgement.
Instructor demonstrates the ‘ideal’ circuit
Choose a day with ideal wind conditions: avoid strong winds and cross winds.
- Student pilot observes, instructor flies the glider around an ‘ideal’ circuit while describing their decisions and actions.
- If the circuit is too far removed from the ‘ideal’, due to conditions etc, repeat the demonstration when an ideal circuit is achievable.
Zig-Zag demonstration
This is not a circuit, but a tool to assess & develop the student pilot’s judgement of their positioning. Use this after they have some experience of flying circuits. It is flown by the instructor. The exercise may need to be demonstrated in two parts.
- Student pilot observes, instructor flies the glider.
- High Key at c. 900′: Point out Height, Angle & Distance (HAD) are OK.
- Fly in towards airfield, so you are too close (judge by HAD).
- Widen out the circuit, monitoring HAD. Student tells you when HAD looks correct.
- Fly further out, student monitoring HAD. Demonstrate when too far away (for the height).
- Fly straight to the airfield, student identifies when HAD looks correct, to rejoin a standard circuit (if possible).
- In the event of becoming out of position, demonstrate the correct action to land safely: e.g. change of landing area.
Student Attempts: awkward variations
Allow the student pilot to develop their judgement. As they progress, introduce awkward situations.
- Arrive at High Key either low or high.
- Commence the circuit too close in.
- Decide to land when too low, or far out, to reach a normal High Key.
- Introduce ‘sink’ with the airbrakes, to run out of (reduce) height.
- Cover the altimeter.
