Let’s look at some badly out of position scenarios. This one is low upwind. What to do?
Learning Points
Consider the Options
If you are too far out of position, then by definition you have reduced your options. The next few exercises explore the limits, not because it is a good idea in the real world, but to approach the airfield differently. Their goal is to allow you to explore whatever options remain available to you.
Field Landing
The area around this airport has very few nice looking fields nearby. In this case, maintain a high level of awareness of where you are in relation to the airfield at all times, and especially as you get low. Stay in the ‘landable cone’ projecting out and above the field. In real life, get to know the local field landing options as well, just in case.
Getting Back to the Airfield
If you are upwind, you can afford to fly a little more slowly, nearer to Min Sink, and let the wind carry you some of the way while you conserve height. You will be traveling downwind, and will cover the ground relatively quickly. Aim straight for the landing area until your options open up to allow a turn onto a normal circuit. However, you may decide that you would be safer landing in a field.
Landing in a Field
Field landings are whole new subject, but circuits into them are based on the same idea. Work back from the landing area and position the Final Turn and the legs leading up to it accordingly.
Scenario and Demonstration
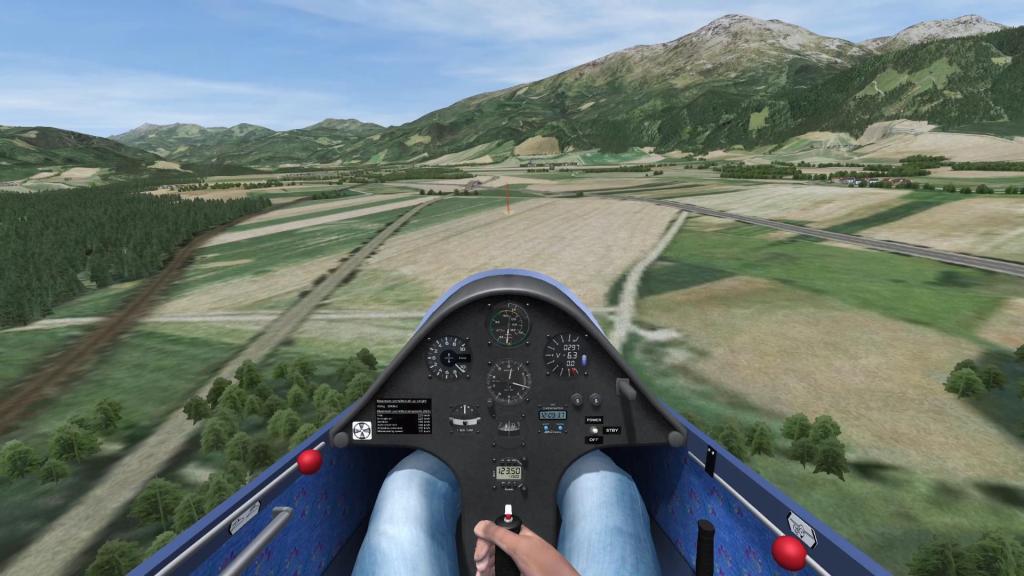
This demonstration shows our pilot several kilometres upwind of the field with a reasonable amount of height in hand if he were to make an immediate decision to return to the airfield. However, he decides to search for lift in the hills and over the towns, and loses any ‘spare’ height he might have had. He knows there is a large field upwind of the airfield, and heads back towards the airfield keeping the land-out option in mind and in sight. The point comes where he can either press on downwind, hoping the landing area is clear, and passing the airfield on a ‘standard’ downwind leg somewhat lower than usual, to make what may well be a low turn in to land into wind, or he can make a safe landing into the field, which is into wind, slightly uphill, big enough, clear of obstacles, and ultimately a safe choice.
Demonstration – Unanimated
Demonstration – Animated
About the videos
Multiple versions of the videos are being made available:
- With animation and voiceover.
- Alternative without the animation graphics.
- As recorded in Condor Flight School. These will have messages at the top of the screen, with no additional animation or voiceover – that’s the way the Condor cookie crumbles!
The videos are suited to any device that supports YouTube. If you have trouble loading the video in the browser, click on Watch on YouTube in the lower left corner.
Performing the Exercise
The Condor exercise places you 4 or 5 km upwind of the airfield, with a comfortable amount of height in hand. If you explore locally for lift you might find some in the hills, but maybe not. Have a look at the fields around and decide if any are suitable for landing. As you head back towards the airfield, you must decide whether a field landing is a safer option than either a downwind landing on the airfield without the option to check it is clear, or passing it downwind to turn in early perhaps, but with no other options left open to you.
Can you make a safe circuit for an upwind landing into a likely looking field?
Afterwards, ask yourself if your legs were as well positioned as you’d like. Were the heights and speeds acceptable? Did you have time to think and adjust all the way round, or were some parts a bit rushed? If you’d do it differently next time, have another go.
Further Reading and References
Gliding From Passenger to Pilot, 2nd Edition: Page 114-115
BGA Instructors’ Manual, 4th Edition: Section 3, Chapter 14 Pages 9-10
BGA Instructors’ Reference Cards: Ex 12b
