Sometimes it is necessary to land across the wind and on a runway..
Learning Points
An earlier lesson dealt with winch launching in a crosswind. In that scenario, if returning to the same airfield, it is highly likely you will need to land across the wind. It may also be necessary in order to avoid a downhill field landing for instance. Landing on a runway gives little room for error. Therefore being able to land accurately in a crosswind is a skill worth mastering.
There are two methods available. The crabbing approach, and the wing-down approach. The crabbing approach is widely applicable and the most useful method in stronger winds and where there is also an uphill slope into wind, so it is the one explored here.
Crabbing Along a Track
When crabbing, we line the glider up so that its track lines up with the intended approach path and ground run. If landing on a runway, that’s your guide. The nose of the glider will be pointing into wind, offset from the track. Otherwise, the Approach is flown as normal. The perspective will be a little different as you will be looking to one side, and the approach path might be tracking into the side of the canopy rather than dead ahead over the nose. The Reference Point will also be offset.
Approach Speed
If the crosswind is at 90 degrees to your landing, there will be no headwind component. This will lengthen your descent over the ground, and it won’t assist on the ground either. Your targeted Approach Speed therefore need not to take into account headwind or wind gradient, so will be a little slower than an into wind landing. You must still monitor and adhere to your minimum approach speed during the descent, in case of wind sheer. With a cross wind of 45 degrees, you will have some headwind to consider.
Round-out
Apart from the slightly odd perspective, Round-out is as normal. However, it feels slightly odd raising the nose and looking sideways.
Float, or Hold Off
Having rounded out, you will be tracking along the runway whilst pointing to one side. Maintain directional control with gentle turns into or away from the wind as needed. Hold off as normal, monitoring your height over the ground.
Touch-down
Just before you anticipate Touch-down, kick off the yaw to point where you are going. This prevents the undercarriage from being subjected to any side forces on landing. Timed well, the glider will drop onto the main wheel before the tail wheel (or skid) touches down. If done too soon, you will start to drift to the downwind side of the runway, but hopefully you have judged it well and drop onto the runway as the glider completes its yaw. You may find that the yaw initiates the drop, so don’t do it too high.
Ground Run
Once on the ground, the fun starts. Ideally you are pointing exactly along the runway, with both the main wheel and tail wheel firmly in contact with the ground, and the stick well back. In this case you will be able to keep the windward wing low and maintain the equilibrium. However, if you have dropped into a two wheel touch-down as a result of the yaw being kicked off, the precise direction of travel may be slightly off target. Getting this right in Condor is a challenge! Direction can be influenced by unweighting the tail wheel, easing the stick forward, and using the rudder as needed. Once heading where you want to go, move the stick back to put more weight on the tail wheel. Otherwise fit a steerable tail wheel. Failing that, a good wheel brake will keep you on the tarmac. On grass, you would normally have more leeway.
A Word on Crosswind Circuits
Ideally position the circuit to the downwind side of the airfield for a cross wind landing. You may need to crab along the downwind leg, which if anything gives you a better view of the landing area as you proceed. The diagonal and base legs will take more time as you will be flying into wind, so allow a little extra height, and avoid areas of sink. It is better to have this time to assess and plan the Approach, than to come in ‘hot’ from upwind only to find “it’s all happening too quickly” as you are blown rapidly towards the (necessarily longer) Final Turn.
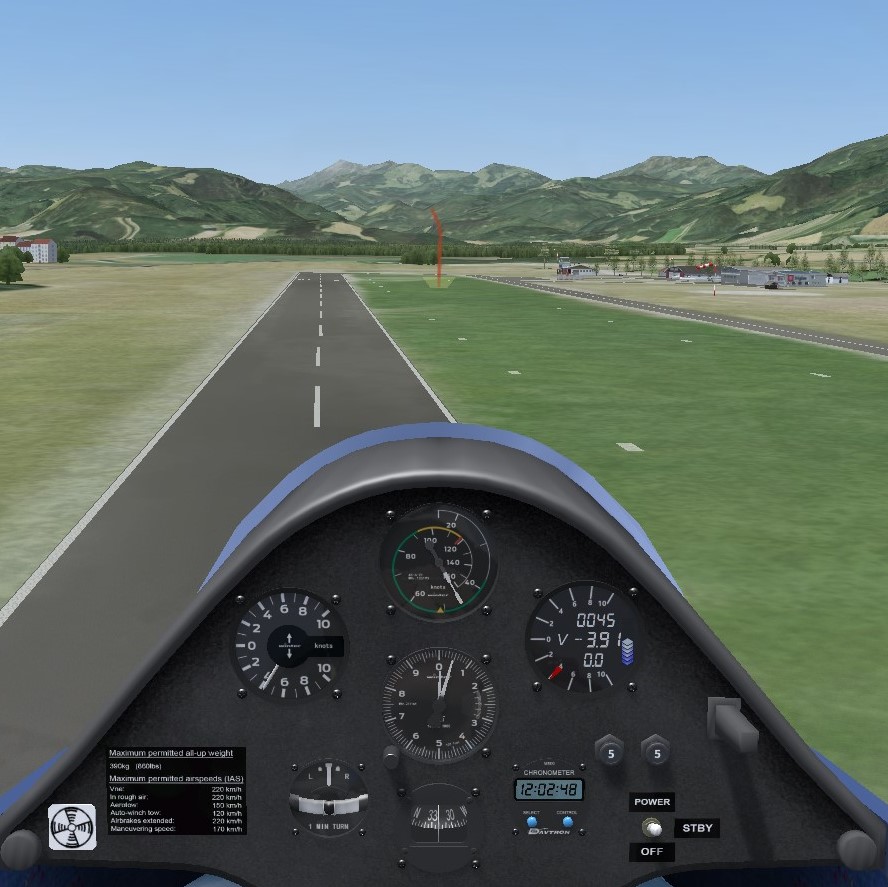
Scenario and Demonstration
The demonstration starts as you complete the Final Turn. The wind is 10kts from the right. The target is to land on the runway, taking the nearest cross track as the Reference point. The demonstration is successful in showing the crabbed approach, round out and float, followed by the touch down, which seems to ‘fall’ out of the sky a little as we kick off the yaw. Directional control is a little tricky, so the wheel brake is used to stay on the runway. We nearly reached the end. Thank Goodness there’s not a charity collection box here for failing to get to the end.
The video is best viewed in YouTube in Full Screen mode, to easily see the on-screen messages during the demonstration. Use view, pause and rewind as needed to grasp the content and timing of the messages displayed, then focus on the action.
Performing the Exercise
See if you can stay on the runway without applying the wheel brake. Condor will reward you with a ground loop if you haven’t spent all your energy before the wing goes down. Keep it straight if nothing else!
Further Reading and References
- Gliding From Passenger to Pilot, 2nd Edition: Page 115-117
- BGA Instructors’ Manual, 4th Edition: Section 2, Chapter 13
- BGA Instructors’ Reference Cards: Ex 12e
- Gliding: The British Gliding Association Student Pilot Manual, Section 4.19 and website.
Updates
The GlidingSchool.com lessons were developed for Condor2. They will be updated from time to time. Visit the Downloads page for news of updates, and to request the latest version.
Comments and Feedback
Your comments and feedback would be welcome. Visit the Contact page to send your thoughts.
Forums
Join us on the Forums provided by Condor Soaring and GliderPilot.net (the URAS forum).
