It often said that the only dangerous thing about landings is that they have to take place so close to the ground. The same must be true of take-offs, only more so. In this lesson we tackle winch launches, starting at the bottom… In real life it is far safer to start learning at the top, but that’s not practical in the sim unless you have the benefit of a two-seater sim and an instructor flying the lower part. These lessons assume you can already land, although the syllabus presents it later on.
Learning Points
There’s a lot happening during the launch and immediately beforehand. Use the checklists and take your time to prepare and execute your launch well. Assuming you’ve done all the external (ABCD) checks, and settled into the glider with your instructor, commence with the pre-flight check, such as CBSIFTBEC. Amongst these, Trimmer and Eventualities:
Trimmer
Trim Setting is determined by your chosen Approach Speed in the event of a launch failure.
Eventualities
Include these in your Eventualities:
- Wind direction and strength. Assess whether you need to apply some downwind rudder for a strong crosswind, or lay-off in the climb to keep the cable from falling outside the airfield after you release it
- Peculiarities of the glider you are in – some need a positive stick forward position for the initial ground run, although most prefer a neutral stick position
- Note the Stall Speed and decide what the minimum speed will be for the rotation and climb
- Note the Max Winch Speed from the placard. Hence, confirm the speed range to be maintained
- Plan in case of launch failure, noting differences at each stage of the launch. Nominate your Approach Speed, allowing for headwind, upslope and likely wind sheer. See also the following lessons on Launch Failure Recovery.
Hooking On
When you are ready to take the launch, ask to be hooked on – but first confirm you have the correct colour (strength) link, and it is being attached to the correct hook. Once hooked on, keep your left hand on the release knob until you have released the cable after your launch.
Ground Commands
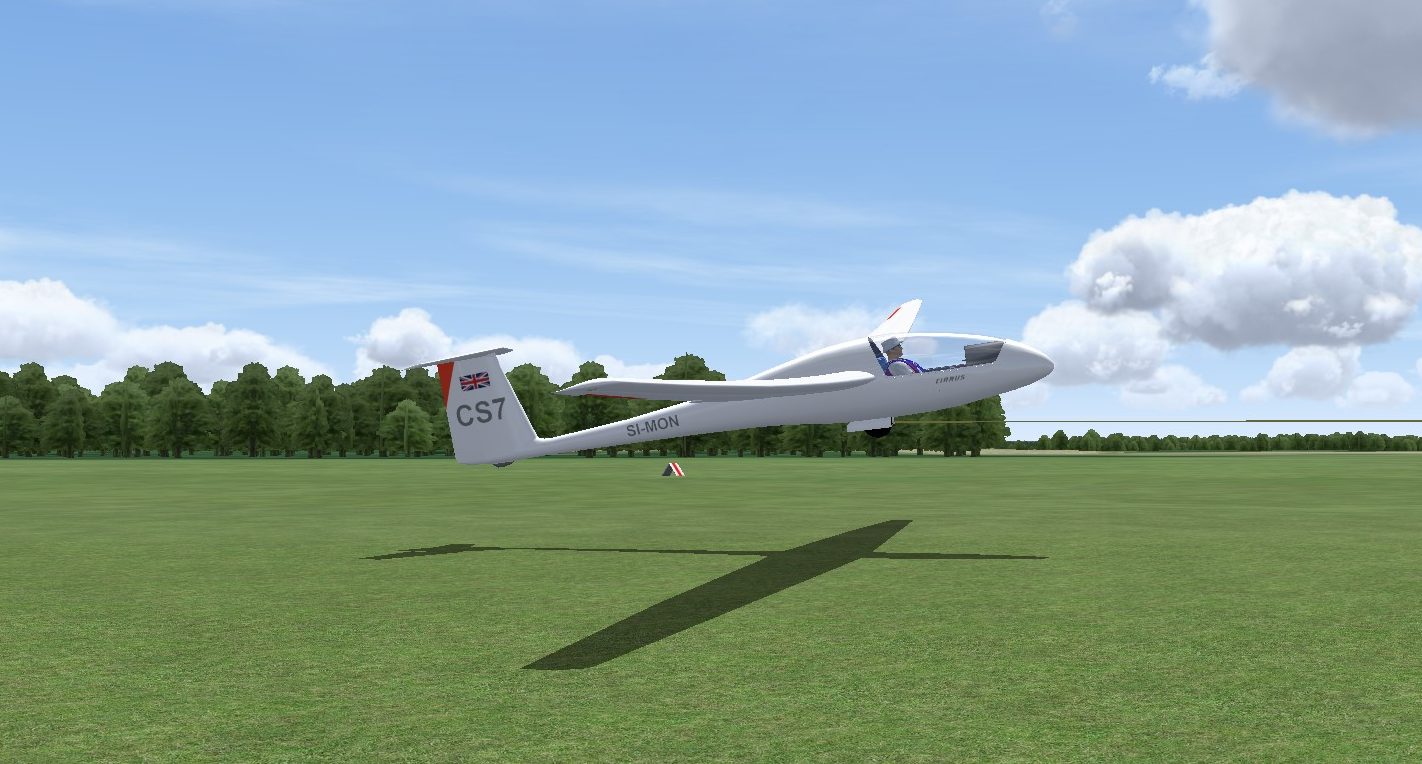
Depending on your site, the person hooking you on will go to the wing tip and raise it to the horizontal, followed by someone else calling “Take Up Slack” and as the cable comes tight, it will be “All Out”. Prepare to fly! What happens next depends on the winch, and how it is feeling at the time. In the ideal world (and on the vast majority of occasions) you will be accelerated forwards on the ground run. As soon as you move, the flight has begun.
If at any time you hear the “Stop” command, immediately pull the cable release. If for any reason you want to stop the launch, you can also use the stop command, always, and most effectively, by releasing the cable.
Ground Run and Rotation
As speed builds, use the controls independently to maintain wings level, heading straight, into wind, normal attitude. Lift off will happen when it is ready – do not force it. Now fly coordinatedly, parallel to the ground. Allow speed to build steadily watching for the ‘rotation’ speed. As you accelerate through it, rotate by easing back on the stick smoothly (over 4-5 seconds?), into the climb at 45 degrees.
Monitor Speed and Angle of Climb
Now focus on managing the speed and angle of climb whilst monitoring your position over ground.
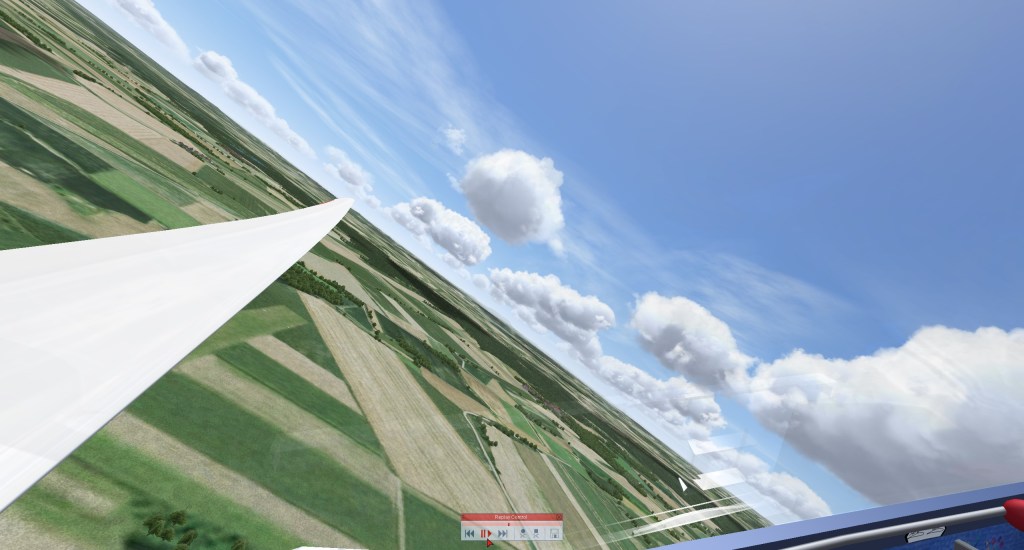
Your climb angle can be judged by glancing at a wing tip. No more than 45 degrees is good.
Stay on Track
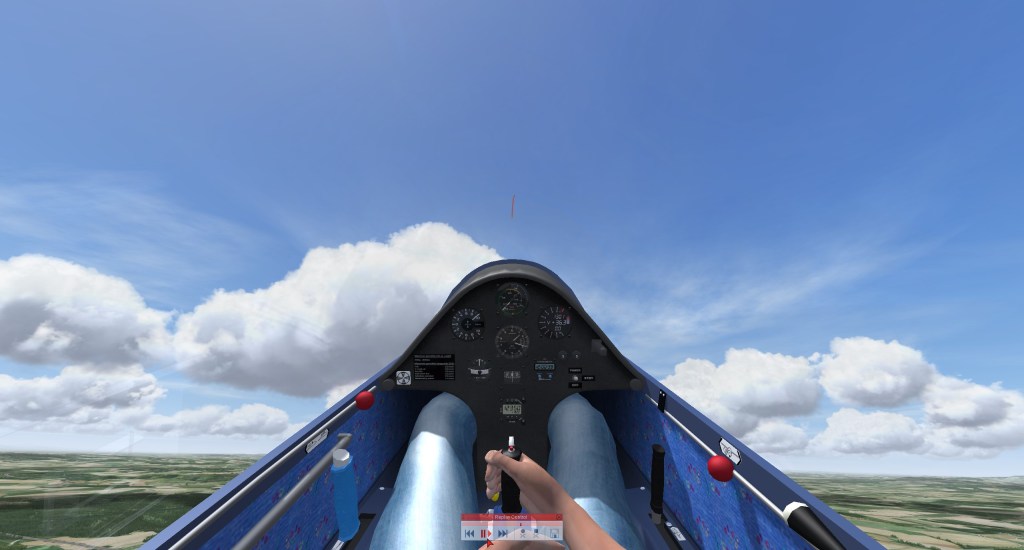
Note the visual references ahead such as clouds near the nose, and the horizon, ideally visible equally to either side of the canopy.
Signals
Once settled into the climb at the appropriate angle, you can signal the winch operator to adjust speed:
- Too fast – A clear coordinated yaw to either direction. It needs to look deliberate. Prepare to ease the stick forward if the winch driver decelerates too much.
- Too slow – less a signal, more how to stay safe – nose down to stay in your chosen speed range. The winch operator should interpret this as “too slow” and increase the winch speed for you. Prepare to pull back to the normal climb attitude.
Upper Launch and Release
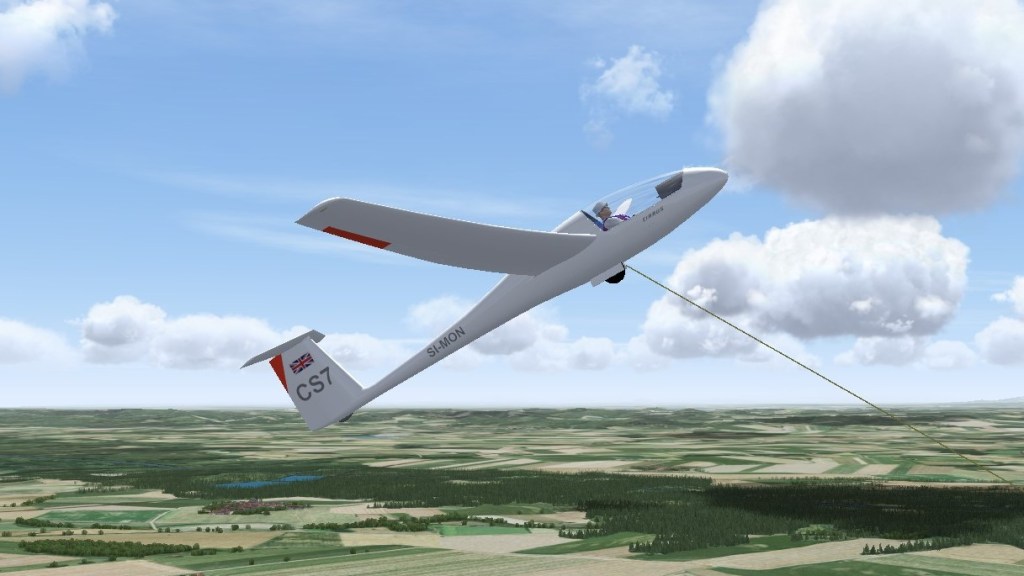
As you reach the top, the climb rate will decrease, and speed may increase. The wings are highly loaded at this point. You will not feel it, because the glider is still attached to the cable which is taking the strain. Beware over-speeding if you want to keep the wings attached. Release the tension in the cable by easing down to the normal attitude and quickly releasing the cable, with two pulls to be sure.
Some sites may prefer to let the winch driver manage the release: fly to the top of the launch, and as the climb flattens out anticipate the winch driver decreasing power – the cable will then back release, and you will have gained the maximum height possible from the launch. This approach also has the benefit of avoiding a release with the cable under tension. When you feel the release, pull the yellow knob just in case you really had a cable break.
Scenario and Demonstration
This demonstration shows a full launch, into a 10kt headwind. The wing holder (off-screen) raises the wing just below level and the winch powers up. As we start to roll, there is a slight wing drop that is corrected by use of the aileron without rudder, before then easing the stick forward to launch in a normal attitude as flying speed is achieved. Had the stick not been eased forward, the glider may well have rotated too soon (too slow) and too steeply immediately upon leaving the ground. Speed builds, and we decide it is safe to rotate into the full climb. Speed builds a little too much, so we ease back – not in an attempt to slow the winch, but to find the correct climb angle. This is very early in the climb and we are just getting settled. If speed continued to rise after this point, appropriate action would be necessary (signal, release, or possibly hang on briefly before releasing). The glider’s speed drops back a little, so we pitch down slightly, then check the climb angle by looking at the wing. We see the glider is climbing at about 45 degrees and look ahead again. The horizon can be seen in our peripheral vision either side of the canopy, and we keep it level. Now we choose a cloud ahead as our reference to prevent unwanted yawing. As we approach the top of the climb, speeds drops off and we know we have gained as much height as we can off the launch – now it is time to release the tension in the cable by dipping the nose, then releasing. We still have good speed, so the pilot converts it to height, gaining 100 feet. Now is the time to prepare for the flight ahead. Lookout, wheel up, head towards lift.
A Note About The Demonstration
Once hooked on, the pilot should keep their left hand on the release knob until they have released the cable. It isn’t possible to show this in Condor, so please use your imagination to visualise this.
About the videos
Multiple versions of the videos are being made available:
- With animation and voiceover.
- Alternative without the animation graphics.
- As recorded in Condor Flight School. These will have messages at the top of the screen, with no additional animation or voiceover – that’s the way the Condor cookie crumbles!
The videos are suited to any device that supports YouTube. If you have trouble loading the video in the browser, click on Watch on YouTube in the lower left corner.
Performing the Exercise
Trim for the approach speed you’ve chosen during ‘Eventualities’ – in this case a little forward of centre. Simply repeat the steps above!
Condor’s winch behaves the same each time, unlike real life. With practice you can make a good launch in Condor – when this is repeatable, remember the “picture” but don’t hang on to the muscle memory – each and every launch will be different and must be flown accordingly.
Further Reading and References
- Gliding From Passenger to Pilot, 2nd Edition: Pages 97-99
- BGA Instructors’ Manual, 4th Edition: Section 4, Chapter 16
- BGA Instructors’ Reference Cards: Ex 11b
- Gliding: The British Gliding Association Student Pilot Manual, Section 4.14 and website.
- BGA Safe Winch Launching
Updates
The GlidingSchool.com lessons were developed for Condor2. They will be updated from time to time. Visit the Downloads page for news of updates, and to request the latest version.
Comments and Feedback
Your comments and feedback would be welcome. Visit the Contact page to send your thoughts.
Forums
Join us on the Forums provided by Condor Soaring and GliderPilot.net (the URAS forum).
